
Things are coming along nicely with the gown. Except that I ran out of the second most important embroidery thread very quickly. I've since ordered more and will get other things out of the way while I wait. I have the gown assembled, the sleeves embroidered, and the first three (of twelve) sections almost completed with embroidery. No sequins on the skirt yet, sadly.
I did a full mock-up first, so that I would know just how much fabric I needed and could work out any tiny kinks. The bodice is terribly forgiving, so not much changed there (I think I rounded the neckline slightly more on the final version). I did end up making a second pair of sleeves since the first didn't have enough sleeve head.
 The biggest problem, however, was the skirt. I tried two panels, but it just wasn't enough. The train turned into a tiny fish tail instead of fanning out. So, in the silk version I used three panels and then continued to cut the two backs narrower at the side seams until it felt right. I think I started with around 81" per side, cut it down to 72" (6 designs per side, 12" apart), then removed just a little more to reach 66".

The first, small bit of embroidery on the train. I used nice silk thread, some is wrapped with metallic. It's all very shiny.

The train fans out nicely now. Still a bit fidgety, but I think it's because the taffeta is rather stiff. A few pounds of sequins around the hem will force it down! I also had to expand the placement of pleats at the back. Forcing them all into the space of the back width wasn't working. It just formed a funny lump over my rear.

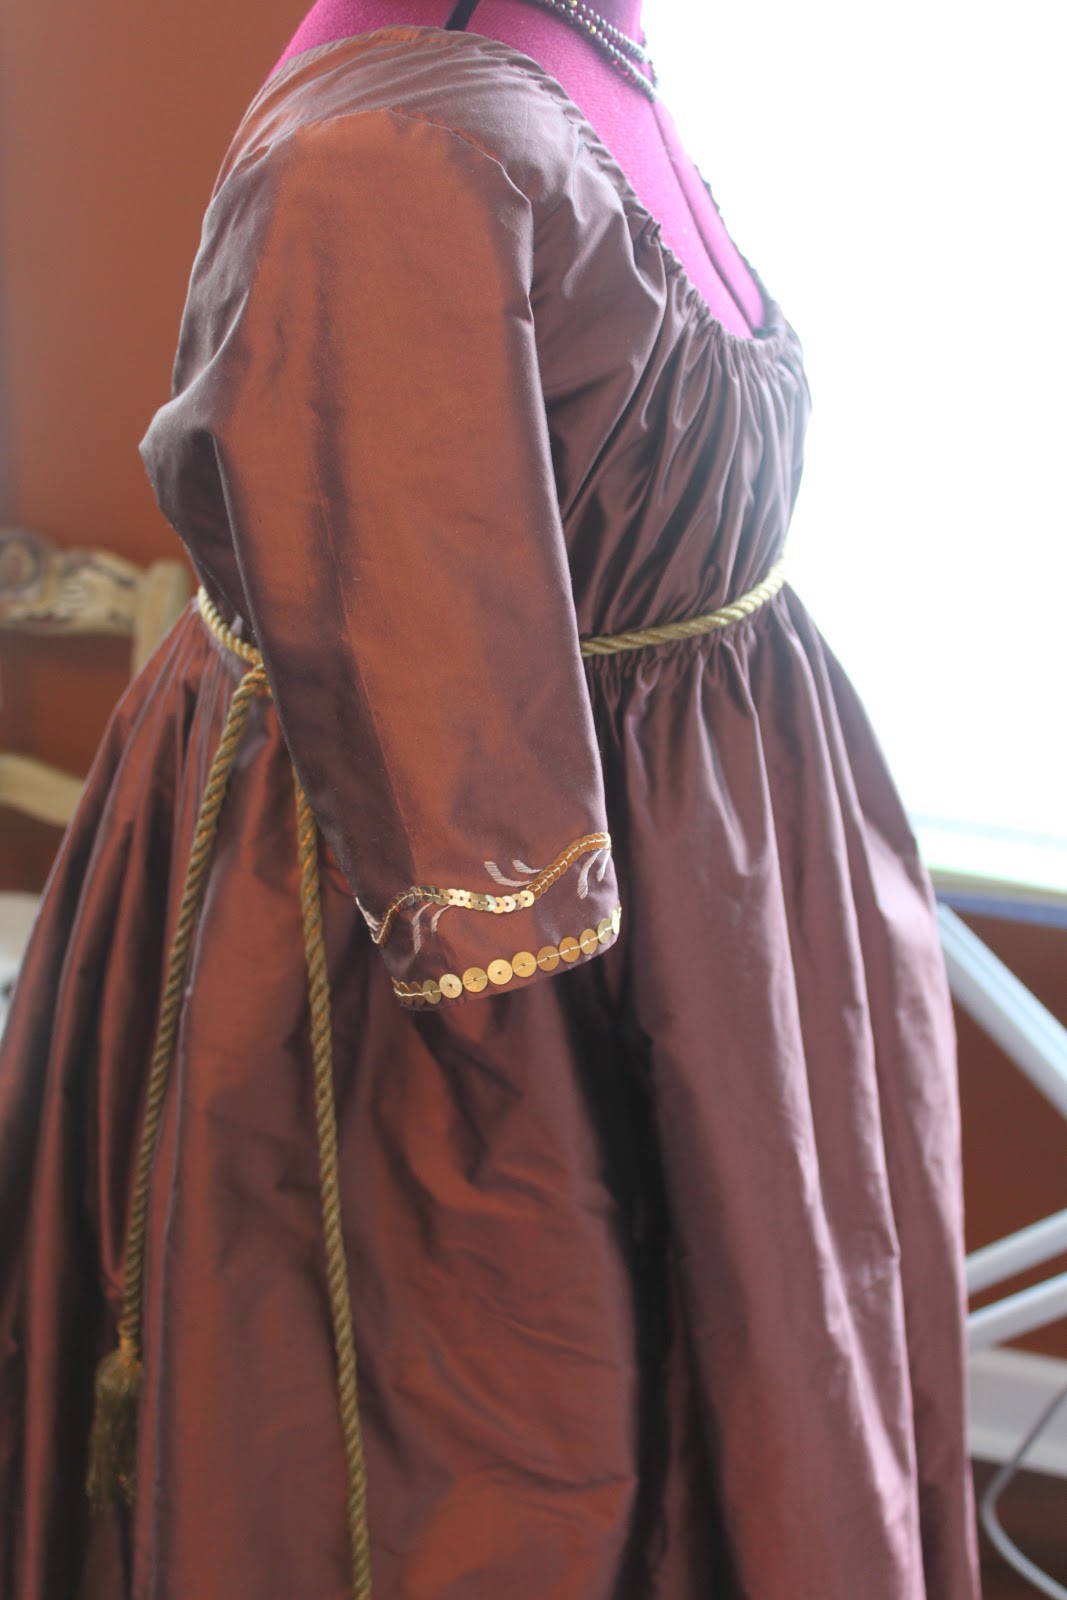
I did the embroidery on the sleeves by hand, since it was so tiny (and much easier to manage after it's stitched and hemmed).

You can see all my little marking threads for placement of the hoops. Much more reliable than chalk.

The sketch for the design. It's expanded a bit since then (adding in extra hem). I then used tracing paper to do detailed inked sections, splitting it apart. I scanned those in, colored them, and converted them into embroidery.

I did a full mock-up first, so that I would know just how much fabric I needed and could work out any tiny kinks. The bodice is terribly forgiving, so not much changed there (I think I rounded the neckline slightly more on the final version). I did end up making a second pair of sleeves since the first didn't have enough sleeve head.


You can see all my little marking threads for placement of the hoops. Much more reliable than chalk.

The sketch for the design. It's expanded a bit since then (adding in extra hem). I then used tracing paper to do detailed inked sections, splitting it apart. I scanned those in, colored them, and converted them into embroidery.

14 comments:
That gown will be lovely! I really like the colour.
But wasn't it the thing to have a bit of a bustle in the back at this time?
This is going to be amazing. I can't wait to see more!
Wow, this is going to be beautiful. It already is! What kind of machine and what software do you use for making your embroidery patterns? Or if you shared more of the step-by-step of actually doing the embroidery that would be awesome. I just got a machine and finished my first real project this week, a whitework fichu, but I still need to learn so much. This is the perfect application for it!
Also, what are the closures for the dress? Does it have a center front tie? It really is stunningly beautiful!
Sarah: Yes, it was, however it didn't look proper. It was a narrow lump with tight sides and forced the skirt into a tail in back.
Carly: I'm using a Bernina Artista with their design software (v.6 I believe). I'll try to talk a bit more about it, but it's hard without going into the program details.
There's no closure on the dress, actually. Being drawstringed in front it's very easy to slip on and off.
Wow! I can't wait to see this gown finished...it will be so awesome!
The embroidery is beautiful, and such a lot of work has gone into the making of this dress. Where are you going to were it, and will you be posting photos??
I meant 'wear'...not 'were'...sorry.
Lovely embroidery work! I hope to do this myself. I need to make a Regency gown in another year for my homeschool. We do history presentations for our history lessons, complete with costumes. Still trying to decide on a pattern.
Laurie
I'll be wearing it to a ball at Gadsby's Tavern in August, and I will most definitely post pictures!
Gosh, when I saw that first photo of the embroidery I thought it WAS the original! This is going to be so gorgeous. When you wear it, you have to have a fat turban and massive, towering feathers!
Stunning! I love seeing other people work with their embroidery machines. I'd love to hear more details, too, especially about digitizing. I have the Viking software, but an older version, and have trouble making it do what I'd like.
Also - how is the embroidery on taffeta turning out? I've had trouble with it puckering, no matter how hard I try or what stabilizer I use. Any tips would be appreciated.
Incredibly breathtaking piece of work - it really looks like an original! And even the mock up looks awesome itself!
I'm in awe - beautiful!!!
Sabine
That's looking great so far! The fabric color is perfect!
That is gorgeous!! I can't wait to see the whole thing on you! (and detail shots ;) )
Makes me feel silly doing my embroidery by hand.
Post a Comment