
Most museums follow a pretty standard set of protocol when working with their collections. You wear gloves, handle as little as possible, use a pencil instead of a pen, etc. In reference to gloves I recommend reading this article. Many museums are moving from cotton to nitrile and it doesn't hurt to be ahead of the curve (or bring both) when visiting a collection. The most extreme situation I've dealt with so far was no touching of the item (the curator could move it occasionally for me), the interior stuffing could not be removed, and no mechanical pencils or erasers. That last part does make sense since those broken off bits can infest a clean area pretty easily. So, I bring art pencils, and lots of them. No temptation to erase that way! On the other hand I've handled things with bare (clean) hands and even used pen to trace something out on top of the object once when pencil didn't work. The horror! Either way, you need to keep that basic standard in your mind and make sure to ask in great detail what each museums policy is. Or, private collector, as is the case with what I'm showing you.
My kit now includes both types of gloves, art pencils, 11x14 paper, measuring tape, dental mirror, small flashlight, calipers, tweezers, and an eraser to clean up the drawings afterwards.
This shoe I'm allowed to move onto the paper and manipulate as need be. A measuring tape can be used to transfer the details in lieu of tracing. It takes longer, but it's much less risky to fragile objects. When moving the shoe I place my hand in the open space under the sole. The uppers and heel are far more fragile than the sole and it should be lifted by its strongest point.

While there will be multiple angles drawn out, the first I start with is the side angle. Gently laying the shoe on the paper (11x14) and tracing roughly around it. The notes at the top right so far tell me my initials, the drawing number (changes over each year), and the accession number or location of the object.

I then go and fill in all of the visual details. I draw to scale as much as possible, using a measuring tape or calipers.

Then, the most important part- notes. I can't stress how much information you need to write down. More than anything I learned this working on the Marquee. Making something that large stitch for stitch meant we needed to note an absurd amount- down to where and how binding was pieced, what angles the stitches were, the size of the thread, etc. Imagine re-creating the object and walk through what you'll need to know for each step. You may not have access to pictures or the object ever again.

I did drawings from other essential angles and of the details. Since this point I've added more notes: the binding meets CF and is butted and whipped, the fringe is running stitched on 3 spi not showing on the inside, how many threads per inch in the linen, and the dating that is probably around 1785. I'm sure I will continue to think of more things, but this now gives me a standard set of questions I could develop to apply to every shoe I look at. Fortunately, this is in my collection, so I can reference it as often as need be. It also means I can show you plenty of images of it.
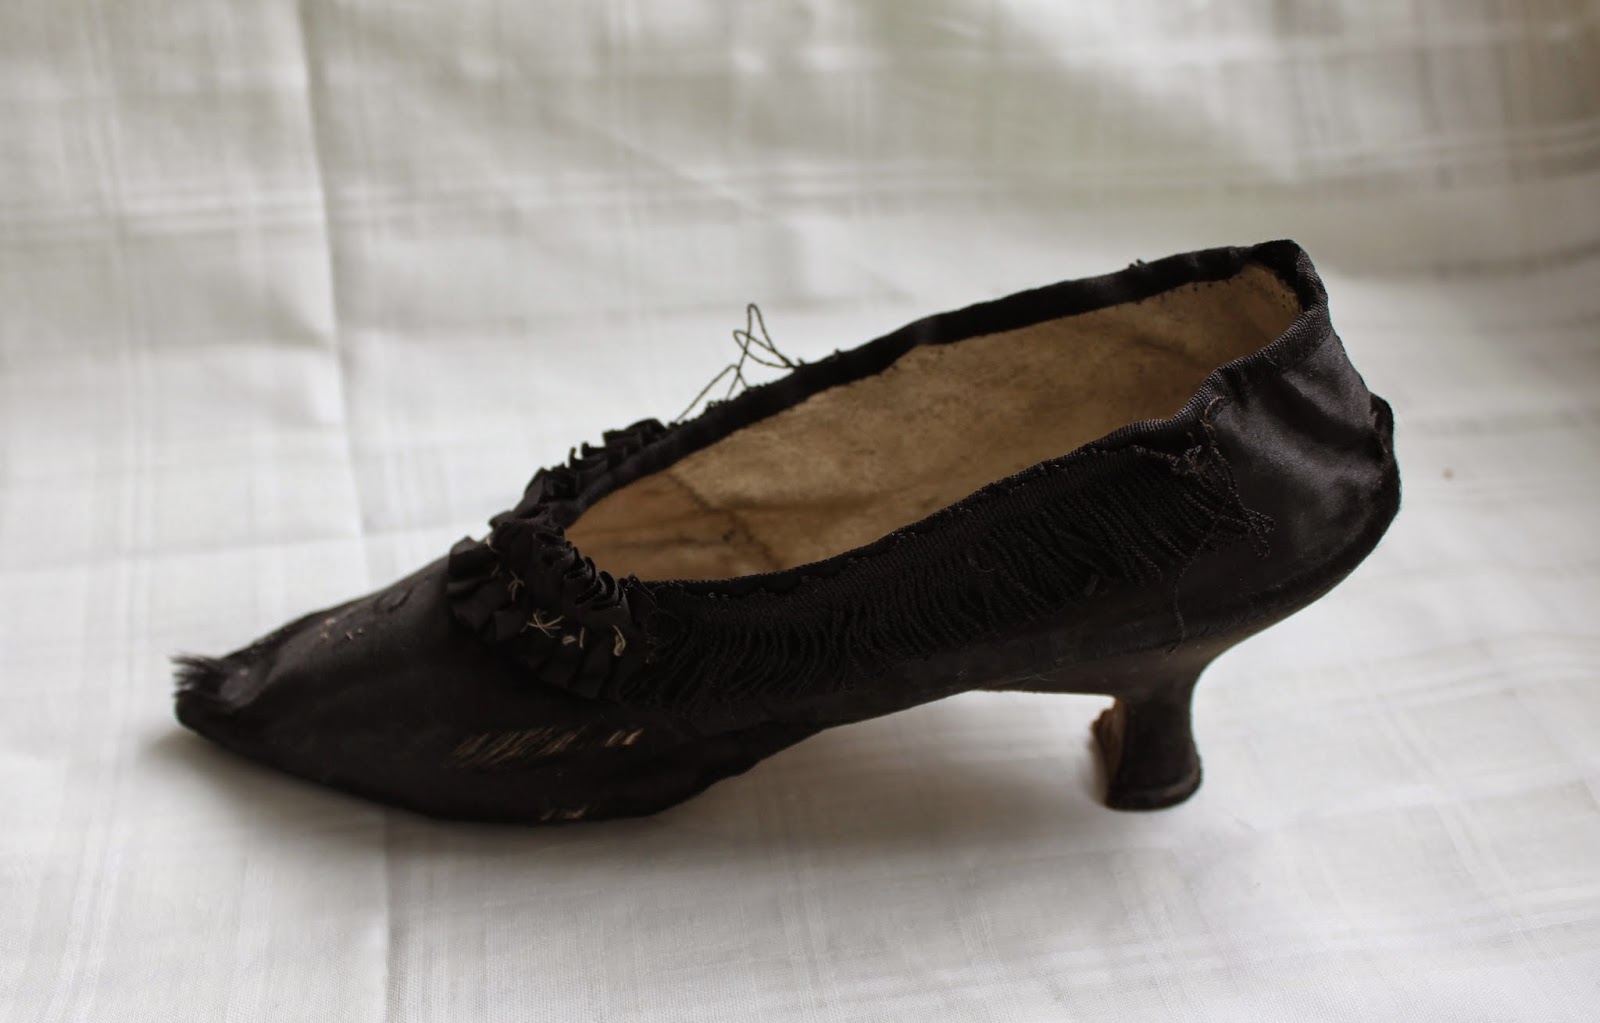


I wish I knew what museum had de-accessioned this, but it's not a numbering system I'm familiar with. It's a bit of a sad shoe, with the silk shattering and the fringe falling apart. But, that makes it perfect for study. I can see the whittaw reinforcements through the holes, count the exposed stitches where the fringe once was. I do wish I knew what was once attached to it's vamp, but that will take some study and an educated guess I think. My next step with this shoe is to create a custom bag to keep the shape inside and use conservators thread to tack the fringe back together.